
Uploading multiple files as a zipped folder

For: StaffApplication: Design and Build , QMplus
Multiple files can be ‘zipped’, enabling them to be uploaded to QMplus in a single item. This can have obvious time saving implications. Once uploaded, the files can be unzipped and then treated in the normal way.
This guide covers:
- Create a zipped folder on your computer.
- Upload a zipped folder to QMplus.
- View your files (the contents from your zipped folder) on your course page.
It assumes you know:
……………………………………………….……………………………………………………
Step 1: Zipping Files/Folders on your computer
To create a zipped file on your PC:
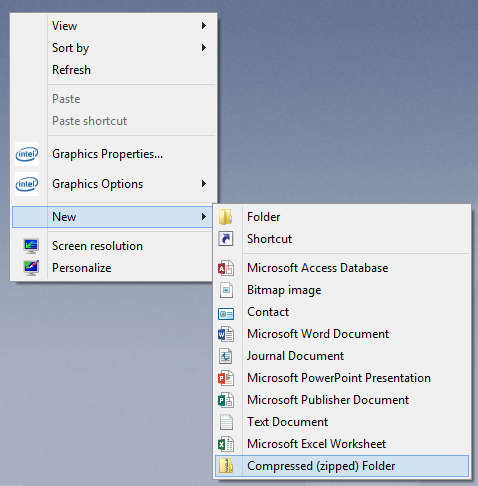
- Right click an empty space on your desktop or documents area; choose New > Compressed (zipped) folder.
- Give your zipped folder a name.
- To move multiple files in to this folder simply drag and drop or copy and paste your desired files into your new zipped folder.
Step 2: Selecting Folder from the Add a resource menu
- From within QMplus, click on the TURN EDITING ON button (top right of your screen).
- Locate the ‘topic’ where you would like your resource to be displayed.
- Click on the Add an activity or resource menu for that topic and select Folder and Add.
Step 3: Uploading your zip folder
- Name your folder. Your students will click on this to access the content of the zipped folder. You might also want to give the folder a description, this is optional but helps give context to the individual files
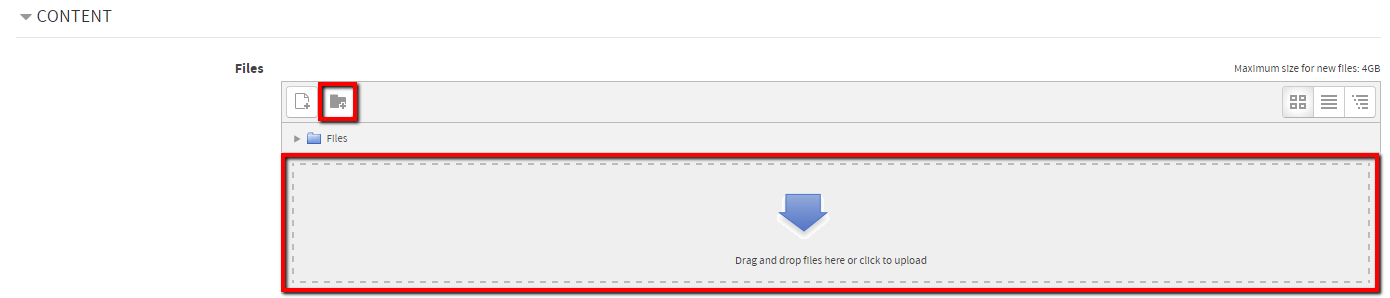
- Drag your folder directly to the page using the ‘drag and drop’ option or Click on ADD.
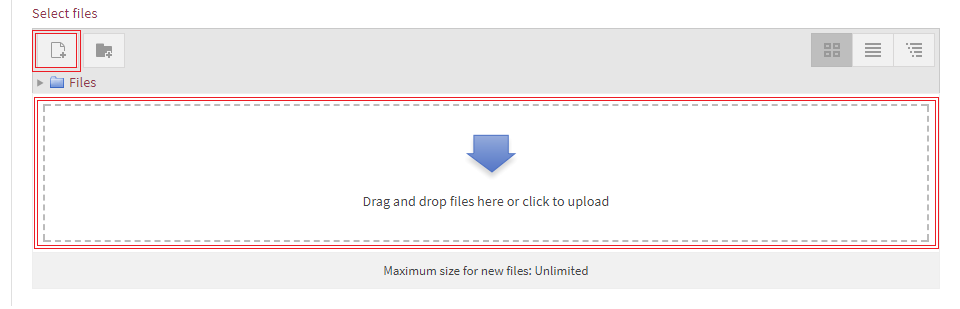
- When clicking on the Add icon, the ‘File picker’ opens. Click on Upload a file.
- Click on Choose File and navigate to your resource. Having selected your zipped folder, click Open.
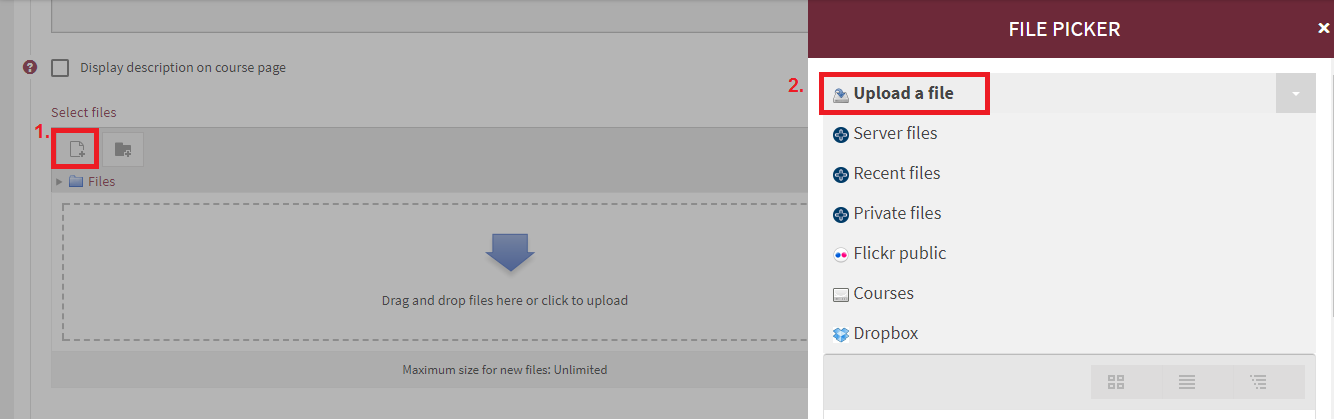
- Select UPLOAD A FILE
- Click ‘Attachment’

- Click Save and Return to Course.
Step 4: Unzip your folder
Your files are currently zipped which, though convenient for uploading to QMplus, stops your students from accessing the content of the folder. To access the individual files you will now need to unzip the folder.
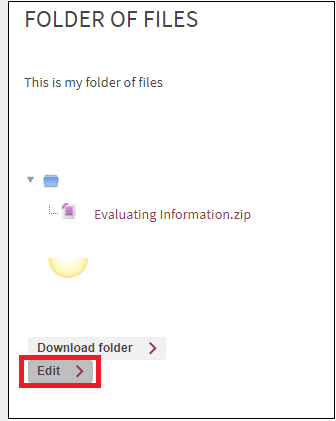
- Click on the the folder which you have created, in the topic you have selected.
- Click Edit.
- Click on the zip folder which you have uploaded, then ‘unzip’.
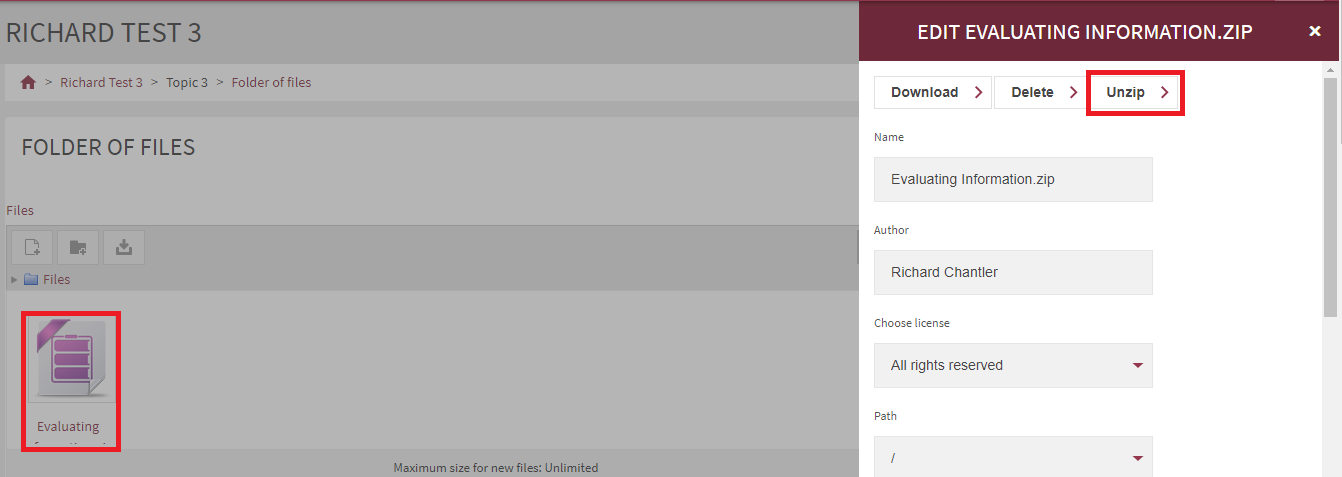
- Then Save Changes.

The image below illustrates how your folder might appear on your course page. To view your files click on the folder link – in this example ‘Folder of files’. 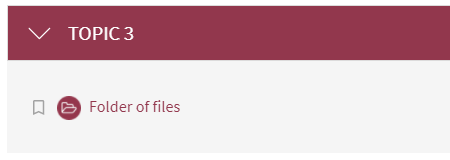
Resources displayed in the folder
The contents of your folder are displayed as a series of links. Please note that the name of the folder is displayed above the files. In this instance it is ‘Folder of files’.
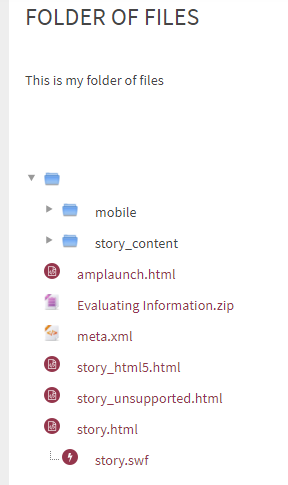
| Tip: Files within a folder are displayed in numerical and alphabetical order. You can use this to dictate the order in which the files appear; for example, if you wanted ‘groups.csv’ to be at the top of the list you might add 01 to the start of its file name. |
…………………………………………….……………………………………………………..
Next steps
You may want to consider:
Did this answer your query? If not, you can raise a ticket on the online Helpdesk or email: its-helpdesk@qmul.ac.uk . Alternatively you can also request a particular guide or highlight an error in this guide using our guides request tracker.
Produced by the the Technology Enhanced Learning Team at Queen Mary University of London.
Related items
